A garden is really an extension of the classroom; it provides a place to learn, discover and improve skills while engaging all of the senses. There’s nothing quite like squishing your hands into the dirt for the first time or smelling a spring flower. Getting out into the garden with your children not only provides a chance to bond, but it will teach your child patience, responsibility, scientific concepts and more about where their food comes from.
Weekends and school holidays provide ideal opportunities to spend more time together outside, and with our round-up of fun gardening projects and activities, you’ll have as much fun as the kids getting your hands dirty!
Grow an egg box garden

Cook eggs for breakfast and keep the box aside for this fun gardening project. This is a great way to give your young gardeners a space of their own to grow and nurture plants with very little outdoor space required.
You will need:
• At least one egg box (you can cut up egg boxes if you have more than one participant)
• Potting mix
• Seeds of your choice
• Water
Instructions:
1. Fill the egg box cups about halfway up with potting mix.
2. Sprinkle your chosen seeds into each cup – no more than five seeds per container.
3. Cover the seeds with a thin layer of soil and gently water. The cardboard will soak up the water, helping to keep your soil moist for longer.
4. Position your egg trays in the sun and water regularly. Once your seedlings are big enough, you can simply cut up the egg tray and plant the cups directly into the soil where they will eventually break down into compost.
Tip: If you want to keep the egg box gardens inside on a windowsill, it’s a good idea to pop them on to a plate or inside a waterproof container to prevent spills.
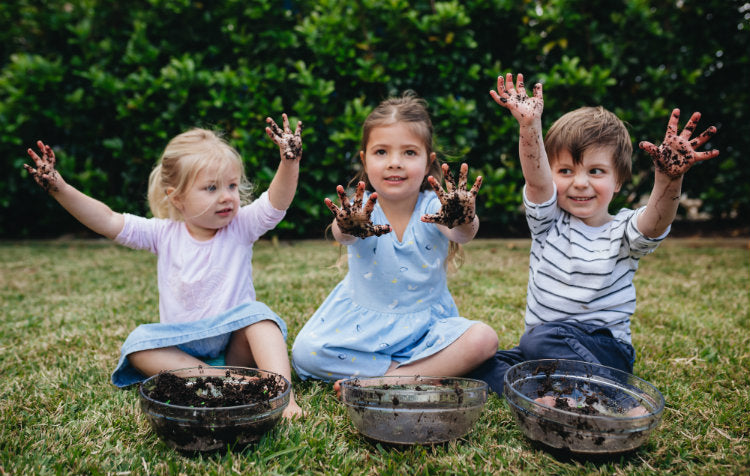
Make mud pies

You will need:
• Hoselink Garden Tool Apron
• Bowl
• Hoselink Garden Trowel
• Mixing spoon
• Dirt
• Water
• Colourful stones, flowers and/or leaves
Instructions:
1. The first job is to put on some protective or old clothing – the Hoselink Garden Apron is ideal as it is machine washable and can be adjusted to fit.
2. Now for the fun part! Use the trowel to start scooping dirt into the bowl.
3. Once full, add water.
4. Roll up your sleeves and start mixing the soil and water to make mud.
5. Once the mud becomes firm enough to shape, grab a chunk and roll into a ball and flatten to form a ‘pie’.
6. To finish your masterpiece, decorate with stones, flowers and leaves from around the garden.
Make newspaper pots

You will need:
• One sheet of newspaper per pot
• Tin of soup (this is to help shape your pot)
• Potting mix
• Hoselink Garden Trowel
• Seeds of your choice
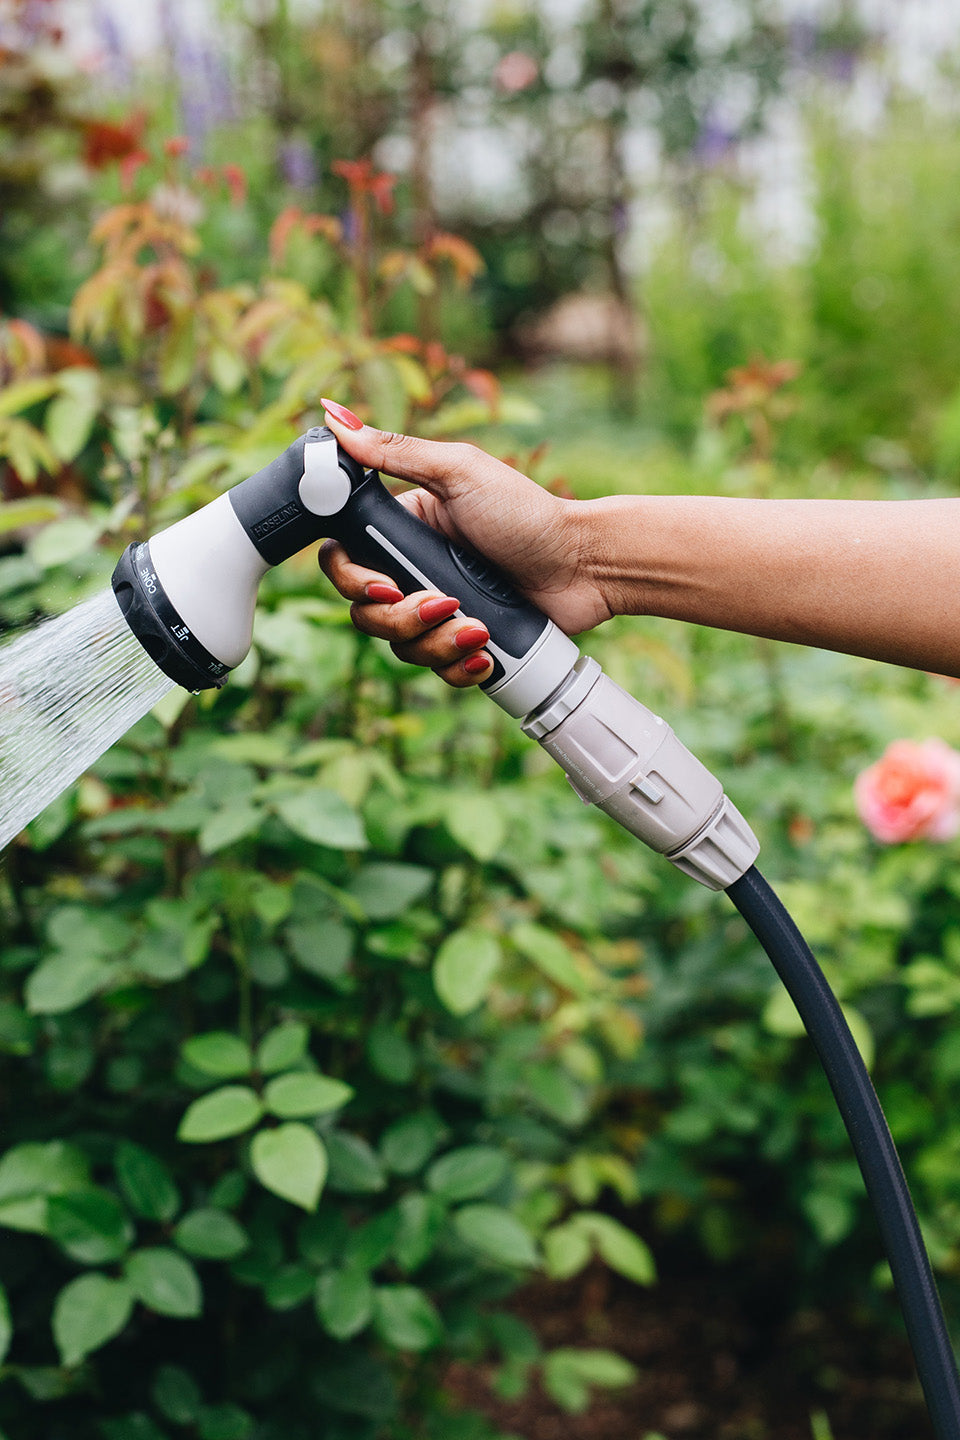
• Hoselink Comfort 8-Pattern Flow Control Sprayer
Instructions:
1. Take one sheet of newspaper and fold it in half lengthways to create a strip.
2. Place your tin at one end of the newspaper strip, around two inches from the bottom edge, and roll to create a cylinder.
3. Turn the tin over and fold the newspaper neatly over the end to create a base for your pot.
4. Remove the tin and fold the top edges of your newspaper pot inwards to create a more durable rim.
5. Now fill the pot two-thirds of the way up with your potting mix, sprinkle in your chosen seed and top up with soil.
6. Put your newspaper pots in a deep tray and water with the ‘mist’ setting on your Comfort 8-Pattern Flow Control Sprayer.
7. Once your seedlings are well established, you can plant them straight into the soil outside without needing to remove the newspaper. Just bury the pot right to the rim and water with the ‘shower’ setting. The roots will soon push through the paper as it decomposes.
Sow sunflowers

Turn this activity into a game of whose sunflower can grow the tallest by the end of the holidays! You can measure the seedlings each day and record their height or take daily pictures to see how quickly your sunflowers grow.
You will need:
• A pot per child (you can use a newspaper pot if you want to try the above activity)
• Potting mix
• Hoselink Garden Trowel
• Sunflower seeds
• Water
Instructions:
1. Using the trowel, scoop enough dirt to fill your pot to around two inches from the top.
2. Scatter a few seeds into the pot – not all seeds will germinate, so it’s OK to have more than one per pot.
3. Fill the rest of the container up with dirt.
4. Water gently. You should keep the soil moist until the seeds begin to sprout, which will take around one week.
Tip: When the seedlings have their leaves, you can thin them out by planting the seedlings into larger pots or directly into the ground.
Design plant labels

Now the kids have a few seeds growing, why not help them design some fun labels, so they don’t forget what they’ve planted?
You will need:
• A4 piece of paper
• Pen or pencil
• Hoselink Slate Plant Labels
• Chalk or Hoselink Silver Permanent Marker Pen
Instructions:
1. First, take a piece of paper and a pen or pencil and trace around one of the Slate Plant Labels.
2. Use the tracing as a template for your design and have fun coming up with what you want to write and draw on your label.
3. Next, take a Slate Plant Label and copy your chosen design on to it using the Marker Pen or chalk. If you make a mistake, you can always turn the label over and start again.
Tip: If you want to wipe the label clean and start again, you can use a cloth and methylated spirit to remove the marker pen. This should only be done by an adult.
Harvest veggies

Growing vegetables is a great way to teach your little ones about growing food and healthy eating. You can start by planting some relatively easy-to-grow edibles like radishes or tomatoes and enjoy watching them get ripe enough to eat. When they’re ready, the kids will love harvesting their first crop. Why not pop your first harvest into a colander and give it a wash in the garden so you can tuck into the delicious fresh veggies straight away? If it’s a rainy day you could bring your harvest in and make a tasty recipe such as homemade tomato ketchup, chutney, salad or soup.

Press some flowers

Let the kids pick their favourite flowers from the garden to preserve in a scrapbook or garden diary.
You will need:
• Flowers
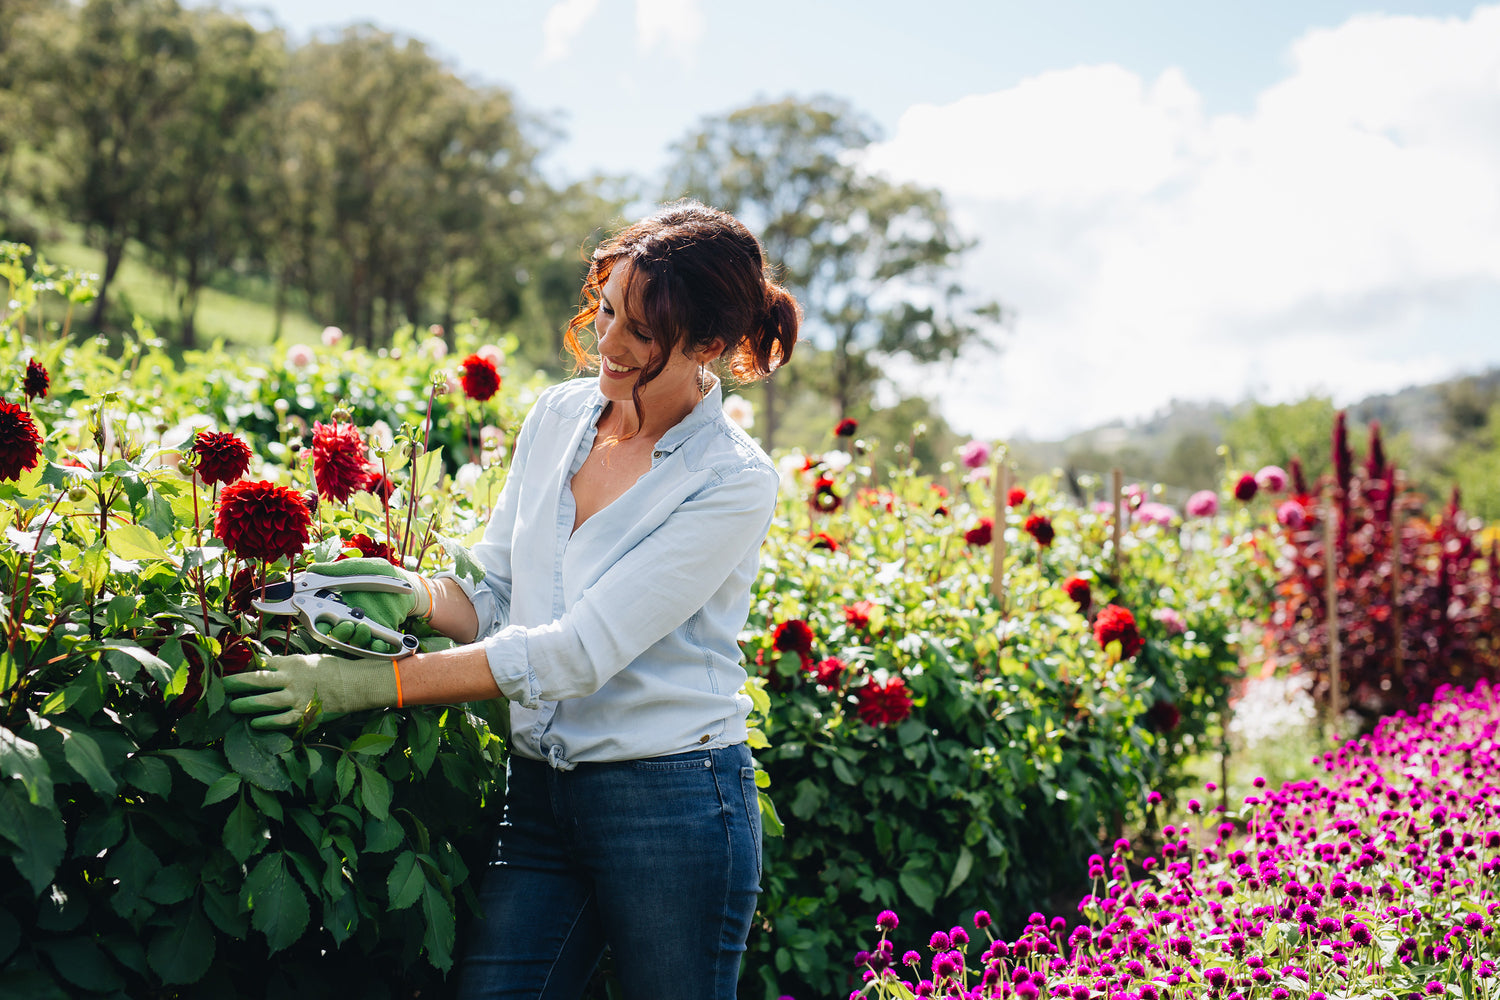
• Hoselink Handy Snippers
• Paper
• Heavy/thick book
• Weight such as a brick
Instructions:
1. The best time of day to pick your flowers is in the morning after any dew has evaporated. Head out and choose the flowers you’d like to press and cut them from the plant using Hoselink’s Handy Snippers.
2. Next, lay the face of your chosen flower flat on to a piece of paper and place another piece of paper on top.
3. Insert your flower and papers into the middle of a heavy book (an old book is best as the moisture from the flower can ruin the pages). If the book is thick enough, you can press many flowers at once, just ensure you space them out.
4. Close the book and pop a weight on top. This could be a brick, more books, or a paperweight.
5. Wait for around two to three weeks and check how your flowers are doing. They should be dry by this point and ready to remove, but be careful as dry flowers are very delicate.