When establishing an edible garden, you should consider growing what you like to consume or foods that you can frequently make use of in your kitchen. Garlic falls into this category and is a staple ingredient in many recipes.
Autumn is the time to get your garlic in the ground, if you follow the simple steps below, you will be rewarded with a year-round supply of garlic that will amaze you with its fresh and spicy pungent aroma. Garlic is also low in calories, rich in antioxidants and can assist in combating sicknesses including the common cold, which is especially prevalent in the cooler months.

Garlic varieties
There over 1,000 cultivars of garlic available worldwide, they are divided into two main groups, hardneck and softneck varieties.
As a basic rule of thumb, hardneck garlic produces a stiff flower stalk that rises from the centre of the bulb. These are best suited to colder climates. The hardneck varieties have the most intense and spicy flavours but do not store for as long as softnecks; approximately 2-6 months depending on the variety.
Softneck garlic is usually what you find in supermarkets because they have a longer shelf life, up to 12 months depending on the variety. They tend to have smaller cloves than hardnecks and prefer a warmer northern climate.

I like to experiment every season and choose multiple varieties to determine what thrives best in my garden and climate. It also allows me to taste new garlic cultivars to establish what works in my kitchen and, more importantly, determine its storage potential to achieve a year-round supply.
I don’t recommend sowing garlic bought from the supermarket; some are sprayed with toxins to treat for diseases or bugs if they are imported from overseas. If used, it may lead to poor growing results or no germination. Best to stick to local organically grown garlic available from growers or from your local plant nursery. Garden centre staff should be able to guide you on the best varieties to grow in your area and for your climate.
When to plant
The best time to buy and plant garlic is in the autumn months once the temperature has dropped. Garlic requires a very long growing period and will be in the ground for 7-8 months. This may seem extensive, however, I can assure you it is an investment in time, and you will be rewarded once you finally harvest your crop.

Your garlic will start sprouting in autumn and begin to develop its bulb over spring, it matures in summer and is ready to be harvested once the cloves have swelled and formed in the bulb. Given the long growing period, you need to select a growing site carefully as you won’t have access to it again until after you lift your garlic crop.
Soil preparation and aspect
Like any edible, garlic thrives in soil enriched with lots of organic matter. Spending time preparing your soil is vital, and the key to long-term success. I like to add aged cow or chicken manure and homemade compost to my existing soil at least two weeks before sowing my cloves. I also throw in some handfuls of blood and bone and mix it all through with a fork until the soil structure is friable and has good drainage. If you don’t like the thought of using animal manure, you can also buy it in a palletised form available from your garden centre.
Choose a site with a full sun aspect that receives at least 6 hours of direct sunlight per day. I grow my garlic in raised garden beds; this creates ideal growing conditions for garlic, allowing the bulb to reach its full potential in rich loamy soil.
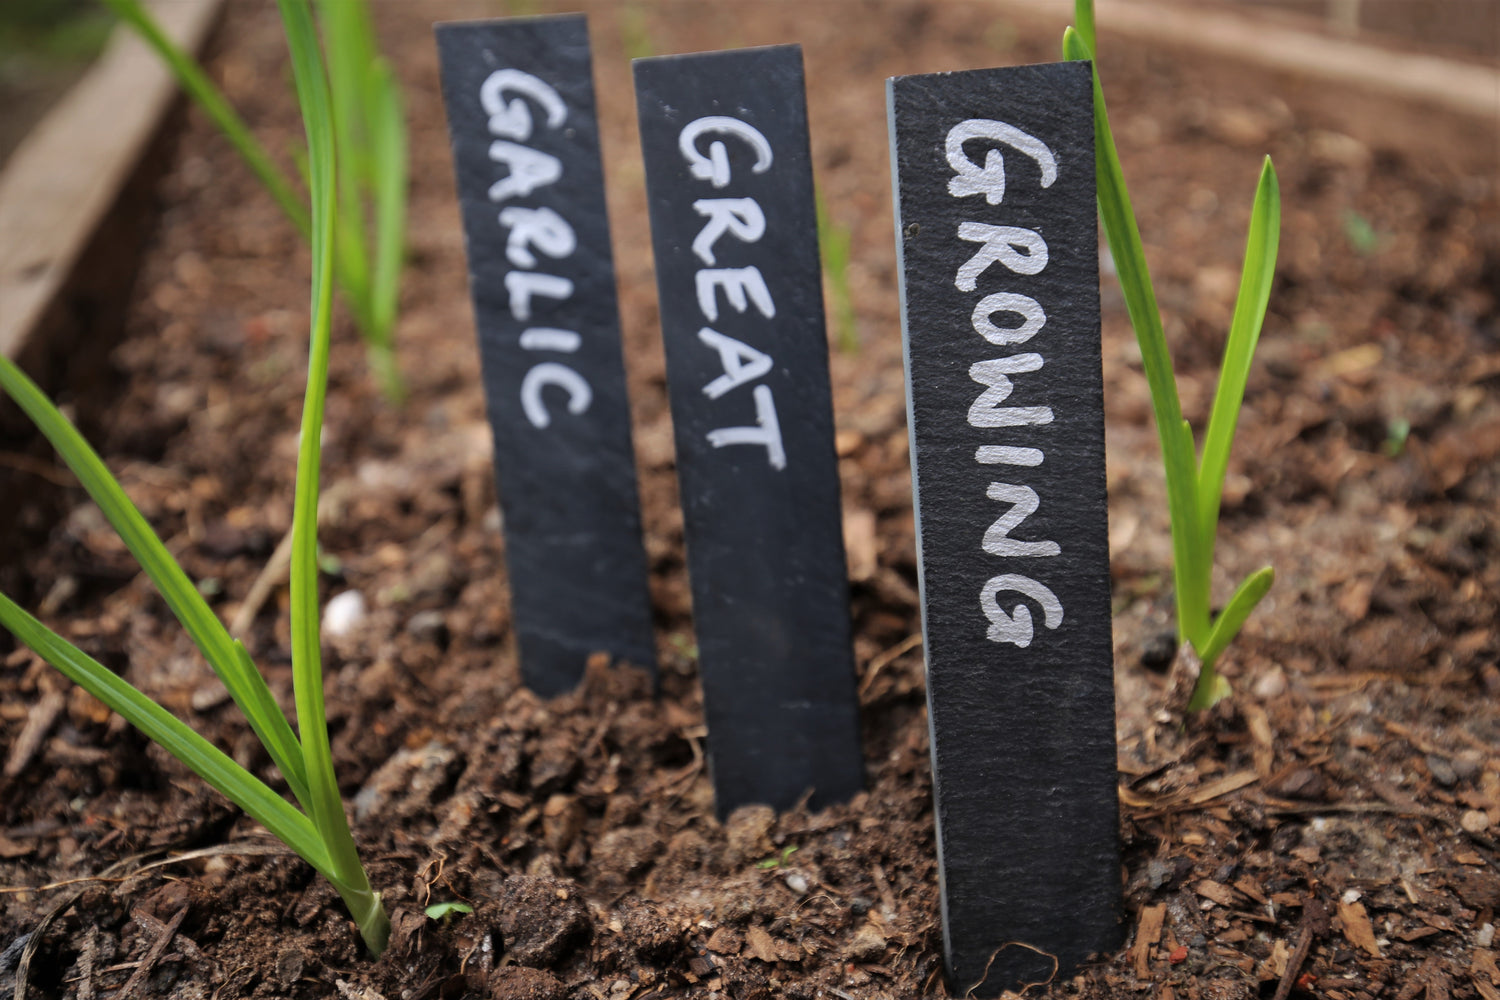
Sowing your cloves
You must first prepare your planting site; create rows of small holes in your soil where you intend to plant your cloves. I like to use a straight edge as a guide to ensure the rows are neat and not staggered.

Break the bulbs apart and separate each clove only when you are ready to plant them. Choose the largest cloves to sow, as these will more likely lead to the development of larger bulbs. Disregard the smaller ones – these can be used in the kitchen instead.
Each clove should be placed in the ground with the pointy end facing up; sow them 2cm deep and approximately 15cm apart. Ensure each planting hole is covered with soil after sowing and water in well. New tender green sprouts should emerge in 1-3 weeks.
Ongoing care
Keep an eye on your garden and ensure your soil doesn’t dry out, but don’t overdo the watering as garlic dislikes wet roots and this may lead to the cloves rotting or promoting fungal disease.
Garlic also dislikes competition and being crowded by other plants or weeds, so ensure they are pulled out as soon as they emerge to prevent them from competing for nutrients or impacting the root development. In spring, I like to mulch with pea straw or compost to a depth of 3-4 cm; this assists to suppress the weeds and maintain soil moisture. It also delivers nutrients back to the soil as it breaks down and rots over time.
Through spring and summer I liquid feed fortnightly alternating between Hoselinks Plant Health Seaweed Tonic and Super Grow Garden Fertiliser. I continue this regime right up until harvest time.
Harvesting and storage
Garlic is generally ready to harvest around seven to eight months after sowing; the tell-tale sign that they are ready to be lifted is when half the leaves have browned off and died. You can also dig your finger into the soil to feel if the cloves have developed and formed.

Once harvested, hang the plants in bunches, or spread them on a drying rack and allow them to dry in a protected spot for 2-3 weeks. The garlic is ready to be stored and used once the leaves and stalks have completely dried and hardened off, and the skins around the cloves are papery and dry. Once dried, brush any soil off, trim the roots and store the garlic whole, not separated into cloves, in a cool, dry spot. Some like to plait the stalks and hang them up in their garage or kitchen, which can look ornamental and is a practical way of storing them. Remember to keep some of your favourite varieties aside to plant them out again next autumn.
For more garden growing tips follow Peter on Instagram @insta.greener