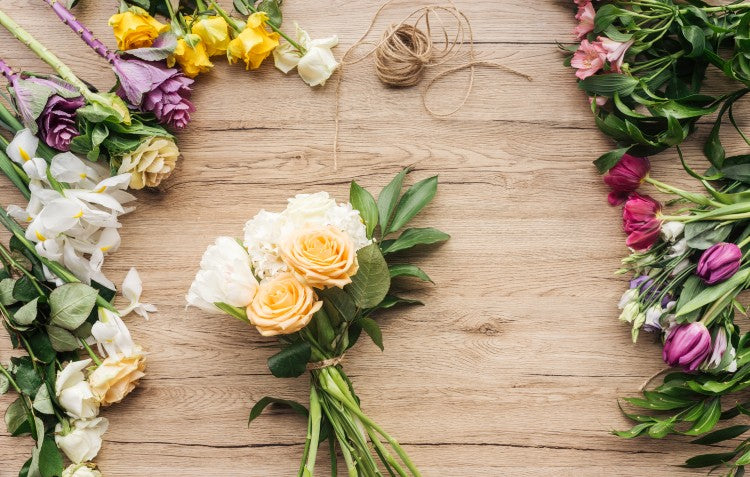
We’re sure everyone has seen those stunning flower arrangements on Pinterest, thinking there is no way I could ever make something like that! Well, now you can thanks to our easy DIY guide to creating your own stunning floral arrangement for a loved one that's perfect for any occasion.
Vases
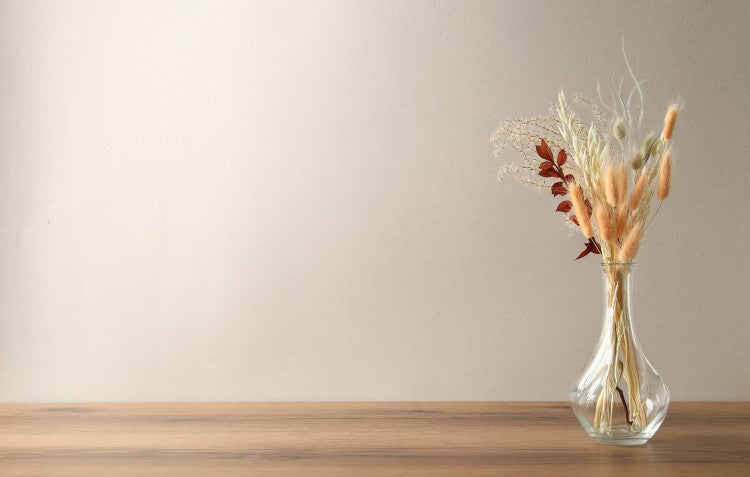
The first step in creating a gorgeous flower arrangement is finding the right vase to hold your beautiful blooms. If you are going for rustic look, opt for a painted vase. If you want more of a classic look, try ceramic or, alternatively, a simple glass vase will blend in with any home decor. If you need to travel with your arrangement, perhaps consider concrete or plastic vases as they are more durable and will withstand the journey. There are plenty of options and variety out there for every taste! If you’re looking to up-cycle, try sourcing some second-hand vases from charity stores such as St. Vincent De Paul. Otherwise, you may even have some lying around at home or hidden away in the garage that you can refresh with a lick of paint.
Choosing a theme
As with any flower arrangement, there are several design elements that tie the look together. This begins with choosing a colour palette; this step is the perfect opportunity for you to incorporate some of your mum’s favourite colours! There are many directions you can take such as earthy, warm tones or pretty pastel pinks, yellows and lilacs. All of which can be mixed with green foliage to round out the arrangement. Choosing a colour scheme doesn’t mean you can’t mix and match. If you’re unsure which colours go together, we have provided plenty of inspiration in this blog to help you, and if nothing suits your fancy, try doing some Pinterest research (warning: it’s addictive!) There is also the option of creating a dried flower bouquet. This involves selecting flowers that dry well such as baby’s breath, straw flower and rose buds. Top tip: Use a small amount of hairspray to preserve your flowers for even longer.
The supermarket flower arrangement
This is one of the most cost-effective ways to create your own flower arrangement. Simply head to your local supermarket and choose a few of your favourite flowers along with some green foliage. Cut the stems and arrange them in a vase or tie with a ribbon or strip of hessian and there you have it! Your very own arrangement on a budget.
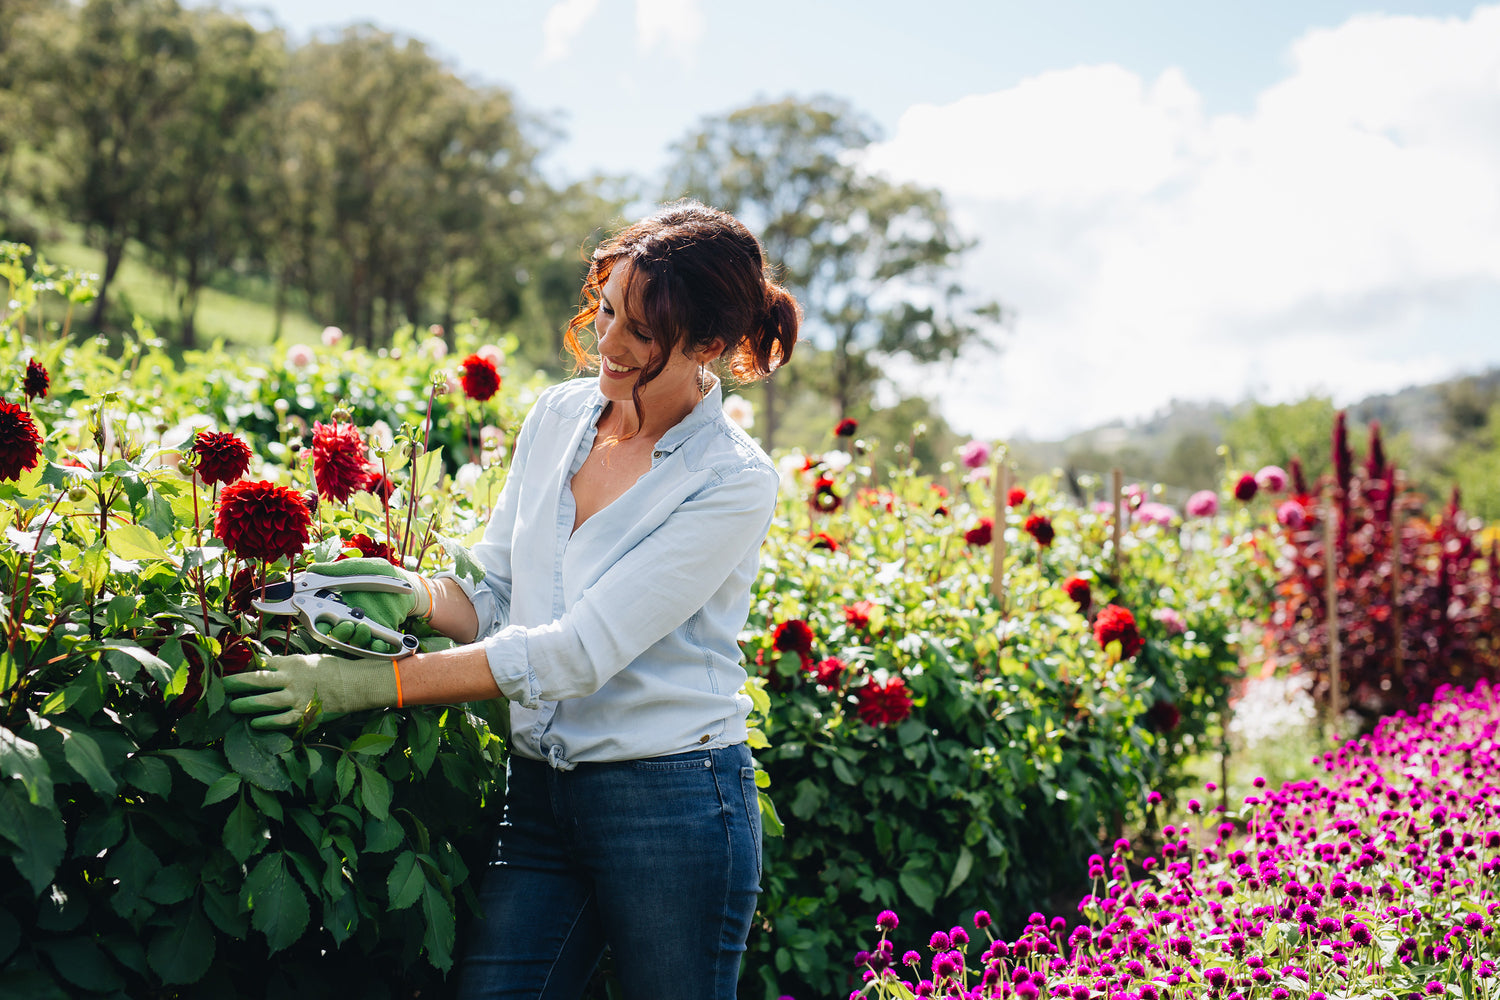
Growing flowers for a flower arrangement
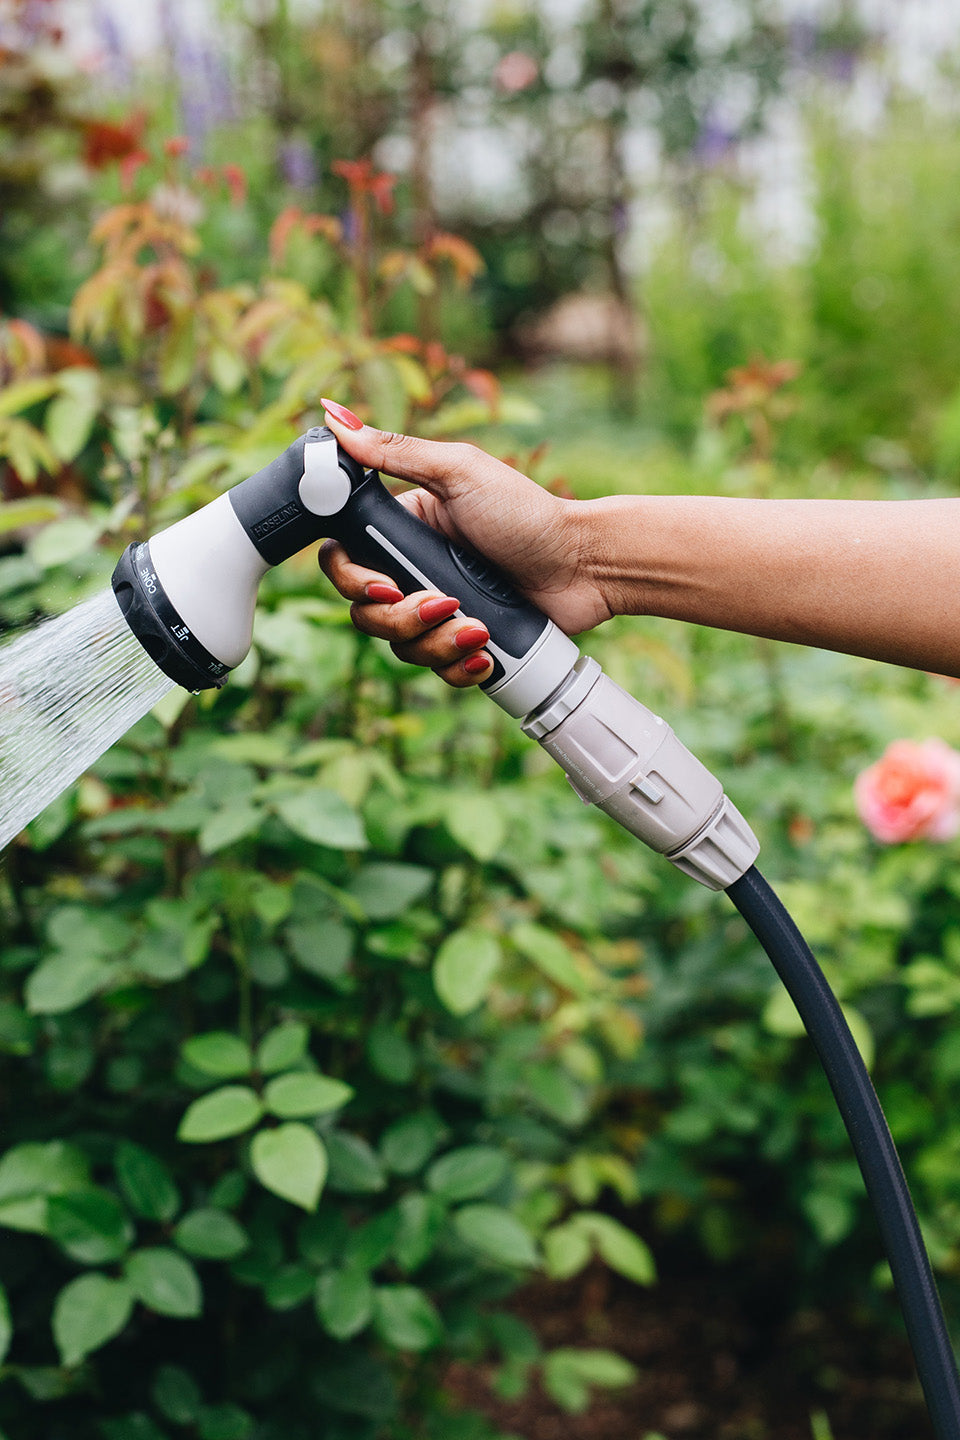
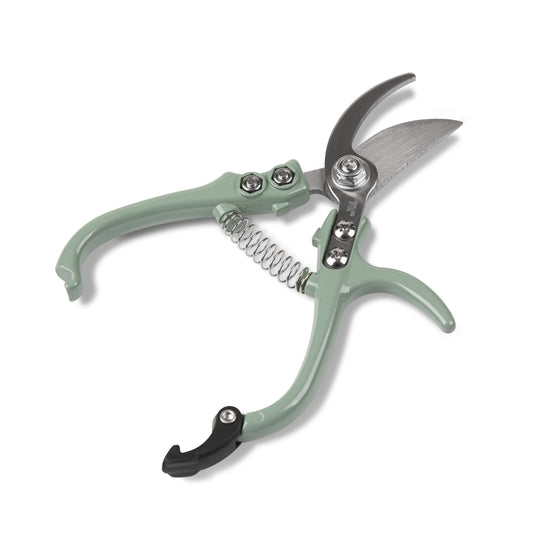
If you consider yourself someone who has a green thumb, or even if you don’t but you’ve always loved the idea of having fresh flowers in the garden, growing flowers is the project for you! Popular varieties include hydrangeas, protea, dianthus, dahlias, and lilies. In terms of foliage, foliage makes a flower arrangement look full and adds texture to your floral arrangement. The best foliage to grow is of the eucalyptus variety. You’ll be sure to find something you love in this family of greenery. Eucalypts are very easy to grow and even easier to trim, especially when using some Hoselink Handy Snippers or Secateurs.
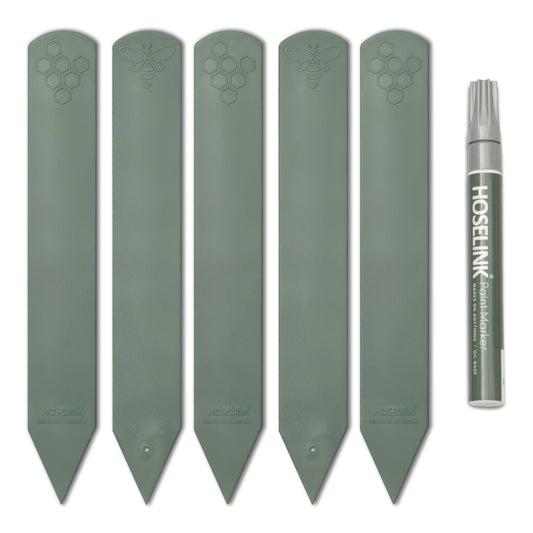
Recycled Plastic Plant Labels & Marker Pen Pack
Assembly
Once you have your flowers, foliage, and vase ready, it’s time to assemble your flower arrangement. If you aren’t using a vase or pot of some description you may want to use some brown paper or even newspaper to wrap up your bouquet, as well as some twine, ribbons and sticky tape. To assemble, follow these steps:
- Start by laying out your blooms and foliage and cut the stems at an angle about 2.5cm from the bottom using some secateurs or snippers, depending on the thickness of the stems.
- Next, fill your chosen vase with water. If you have preservative solution, mix that in with your water. Alternatively, you may wish to use a few tiny drops of bleach to kill any bacteria, (be careful not to spill any!)
- Now, the fun part. Start by placing the largest flower in the vase first, then add the other flowers and foliage layer by layer in a circle, making sure each side is symmetrical. Repeat until you have used all your flowers and greenery. Make any adjustments you feel necessary until you are satisfied with your creation. Some people like to add additional greenery, grasses, or berries for decoration.
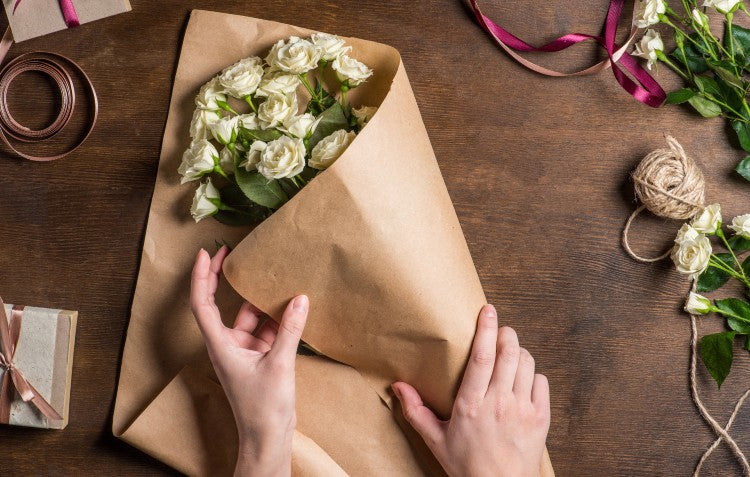
If you are arranging your flowers to be wrapped in paper, similar steps apply. Cut your brown paper in the shape of a square approximately 30x30cm in size, or bigger depending on the size of the flowers you are using. Lay out the paper diagonally on a flat surface. If you need to preserve your flowers for a long trip, we recommend using a reasonably long rectangle of clingfilm or bees wax wrap to secure around the ends of the stems. This will keep the ends protected and moist and will help keep your arrangement in place. Once this is done, you can wrap the paper to secure your bouquet. First make a small fold on the right-hand side to make a clean edge. Then fold the left-hand side over the stems to tightly secure them. Finally, fold up the bottom corner of the paper followed by the right-hand side over the top to finish the process neatly. Remember you can use a few pieces of ordinary cello tape or double-sided tape to secure the paper as you fold. Using a piece of twine or ribbon, tie a bow around the paper holding the arrangement to complete the look.
Top tips:
- If you are using roses or foliage with sharp thorns, trim them before creating an arrangement to avoid cutting yourself or others.
- Try to balance the size of the container you use with the size of your flowers. By doing this, your arrangement will look more in proportion.
- Once your arrangement has been gifted, remind the recipient to water them daily and recut the stems.
- To keep the other stems alive longer, take the wilting ones out of the arrangement.
- To add a unique look, arrange the greenery first and allow it to spill over the edge of the container. This will add an eye-catching element.
- To conceal the stems of flowers, arrange a large leaf around the inside of the vase.
- If you’re having trouble holding all the flowers and foliage up or struggling to arrange them, try using some masking tape across the top of the vase in a grid like formation. This will help as a guide to make your arrangement, just avoid the tape getting too wet.
- Source your flowers locally! If you’re unable to grow your own, the next best thing is to find a local farmers’ market and support them by purchasing their flowers.