
Item: EA100429
Use your Evolve™ Retractable Hose Reel at another location
|
Ordered Sep 10 |
Order Ready Sep 11 - Sep 13 |
Order Delivered Sep 18 - Sep 25
|
Free delivery within Australia for all orders $99 or more. Orders under $99 incur a $7.95 delivery fee.
We offer free returns & a 30-day money back guarantee on any purchase that does not meet your expectations. Simply email us at hello@hoselink.com.au
Free delivery on orders over $99

30-day money back guarantee
Free returns or exchanges


Shop now, pay later. Always interest-free.
We've made it easier than ever to get what you want, when you want it.
Helpful additions to the Additional Wall Bracket | Evolve Series


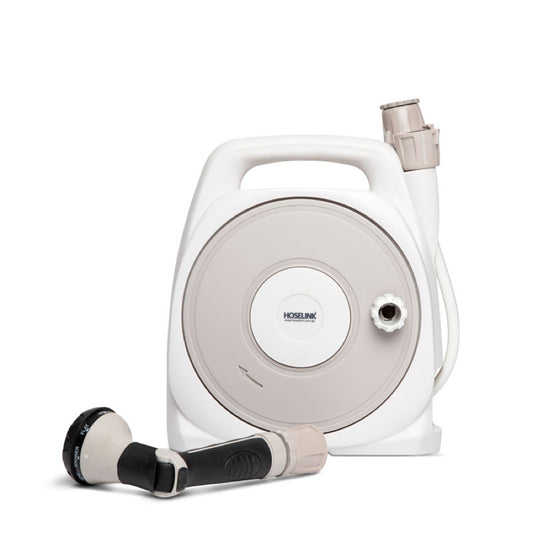
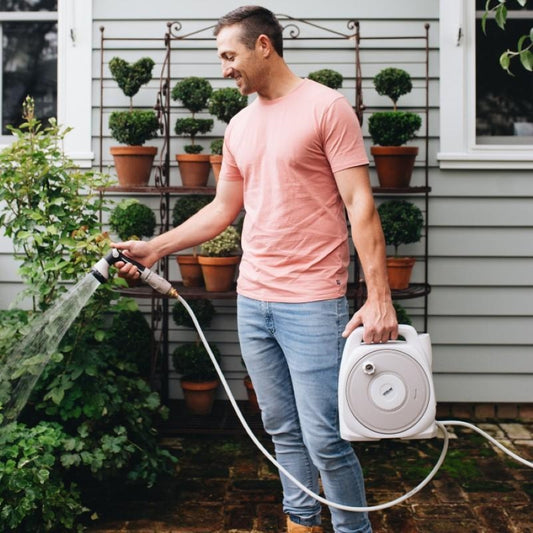
Use your Hoselink Evolve™ Retractable Hose Reel in different locations with the Additional Bracket.
Install an additional mounting bracket to quickly and conveniently transport your Hose Reel from one tap to another.
The Evolve™ Series additional wall bracket is suitable for all models of the Evolve™ Hose Reel. So you can use it with whichever size Evolve™ Reel you own.
If you are after an additional bracket for the Classic Series of Hose Reels, click here.
To install, simply attach the Bracket to your wall using a drill and the supplied hardware. Instructional videos can be found here, or you can view a full list of instructions under the Specifications tab.
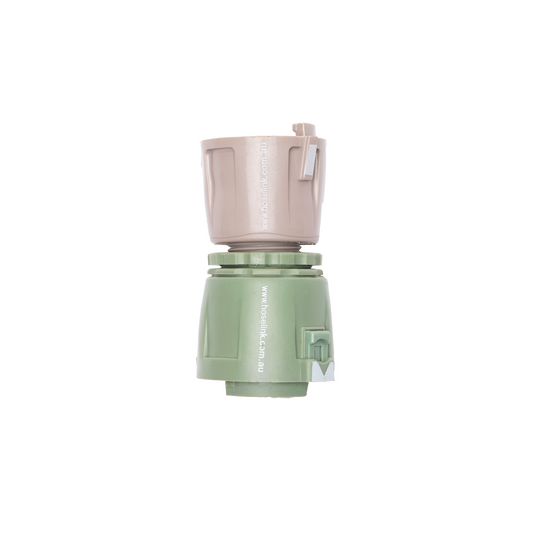
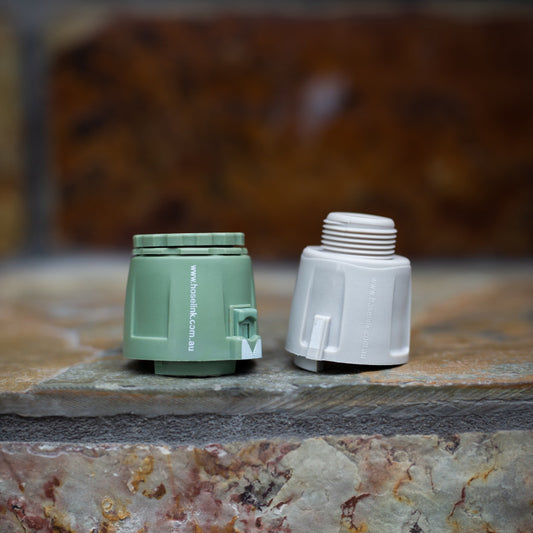
To make transferring your Hose Reel as simple as possible, we recommend purchasing an extra Tap Connector to leave attached to the tap next to your Additional Bracket.
Please Note: 1 x mounting bracket is already supplied with each Retractable Hose Reel. The Additional Bracket is an extra bracket so that you can transfer and use your Hose Reel in different locations.
| Model Name | Additional Wall Bracket | Evolve Series |
| Model Number | EA100429 |
| Material | Bracket (polypropylene), screws (stainless steel), plugs (plastic) |
| Dimensions | H185mm x W95mm x D175mm |
| Colour | Black |
| Designed For | Hoselink Evolve™ 20m and 30m Retractable Hose Reels |
| Not Suitable For Use With | Previous Hoselink model hose reels: Classic Series |
| UV Resistant | Yes |
| Corrosion Resistant | Yes |
| Assembly Required | Yes (you will need a drill) |
| Individual Item | No |
| Warranty | 5 years |
| Fitting Instructions |
|
Tools: Electric drill, 10mm or 5mm drill bit as appropriate (see below), hammer, Philips head drill bit (included with Evolve™ Reel) |
|
Brick Wall: Drill 4 holes (using template) with 10mm masonry bit, 60mm deep then hammer in the 4 plugs. Attach bracket using the 4 screws. |
|
Timber: Drill holes as above, only with 5mm bit, 60mm deep. Then attach bracket using the 4 screws. No plugs required. |
Q. Is it easy to move the Retractable Hose Reel from one tap to another?
A. It sure is! You simply turn off the water, disconnect the leader hose from the tap and pick it up using the 2 handles. Please keep in mind that the longer (and therefore bigger) the hose reel you buy, the heavier it will be to carry around. Water left in the hose gets very heavy! For most people, it's easy to handle the 20m model. The 30m is a bigger unit and heavier to carry around.
Q. Is this bracket suitable to use with the Classic Series of Hose Reels?
A. No it is not. Both the Evolve™ and Classic Reels have their own bracket design and cannot be used with the other. If you do require a Classic Series bracket you can find them here.
Q. I'm upgrading from a Classic to an Evolve™ hose reel. Do I need to drill new holes or change the wall plugs?
A. No. The screw holes are in the same positions on both brackets and both models use the same screws.
Brick or masonry walls: the wall plugs differ slightly in diameter (Classic 12mm, Evolve™ 10mm). Leave the existing Classic plugs in the wall and fix the Evolve™ bracket over the same holes using the Evolve™ screws. You don't need the Evolve™ plugs, a new drill bit or any filler. The 10mm Evolve™ plugs are only for new installations where you're drilling fresh holes.
Timber: both models use 5mm holes with no plugs, so simply screw the Evolve™ bracket into the existing holes.
If the existing plugs are damaged or loose, please contact our team for advice.
Q. What is the distance between the screw holes for the wall bracket?
A. The screw hole spacing is the same for both the Evolve and Classic wall brackets. The distance between the centres of the top two screw holes is 65mm, and the distance from the centre of the top screw to the bottom screw is 155mm.
Item: 2751-2
Item: 3590-WG

Item: 2595-WG
Item: 5518-WG


