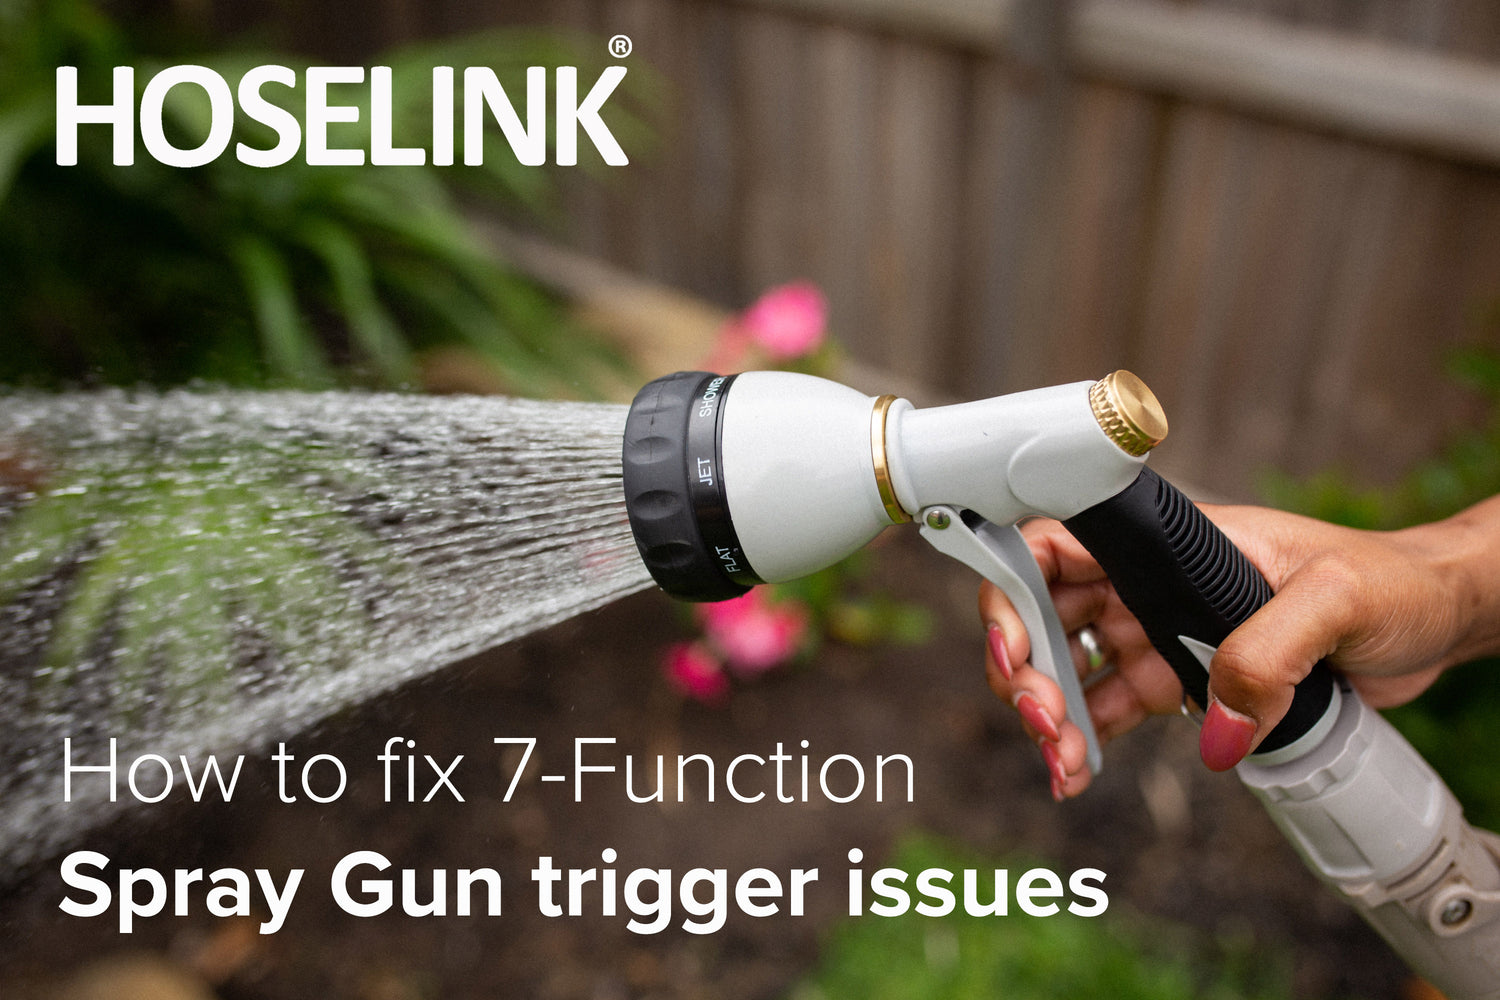
Help with our Spray Guns & Sprinklers
If leaking occurs from behind the function selector dial, first try tightening the screw on the face in case it is loose. If that fails, follow these steps to repair your spray gun:
- Use a Phillips-head screwdriver to remove the front face of the spray gun. Be careful not to lose the small white-tipped spring.
- Remove the o-ring (use a pin if necessary) and replace with a new one.
- Spread some silicone oil lubricant around the o-ring and surrounding area.
- Replace the face of the spray gun and tighten the screw.
Buy spray gun repair kit HERE.
If your spray gun trigger becomes floppy or loses resistance, it is due to the internal o-rings on the stainless-steel plunger drying out.
Take these steps to lubricate the plunger and restore proper function to your spray gun:
- Use pliers to unscrew the brass cap at the back of the sprayer.
- Remove the spring.
- Push the plunger from the trigger side, then grip with pliers from the back to remove it.
- Clean out any debris or build-up inside the trigger well.- -Spread a few drops of silicone oil into the cavity and around the o-rings of the plunger. - Replace the plunger, spring and brass cap in reverse order.
- Pump the trigger until it is fully operational.
Handy hint: Periodically lubricating the plunger will keep it operating smoothly. Simply drop some silicone oil on to the silver plunger under the trigger and pump the handle to distribute it.
Important: Use only silicone oil from Hoselink or any hardware store (not water-based WD-40). You can buy silicone oil HERE.
If a leak has developed, it may be that the washers in the face of the spray gun have worn and need replacing. Please contact customer service for assistance.
If the thumb controller on your Comfort 8-Pattern Spray Gun has dislodged, there are no spare parts available and a replacement spray gun will be required. For in-warranty replacements, please contact customer service, otherwise, replacements can be purchased HERE
If the handle of your Comfort 8-Pattern Sprayer has split and is leaking, there are no repairs for this and a replacement sprayer will be required. For in-warranty replacements, please contact customer service, otherwise, replacements can be purchased HERE
Occasionally dirt and debris can get through the hose and cause blockages in the spray head. Unscrew the face of the wand and soak the silver face plate in white vinegar and warm water to clear any build up or debris.
Replacement heads for the Shower Wand & Long-reach Shower Wand are available. Please contact our customer service team here.
Unscrew the cleaning pin at the end of the sprinkler and use to poke each of the fine jets to clear them. Then, flush water through the sprinkler to remove any grit, before replacing the pin.
Spare Jets are available, if required. Please contact customer service for assistance.
If your water supply is quite gritty, you may wish to try an In-line Water Filter to trap dirt at the tap.
This is likely due to poor water pressure. Try turning up the water pressure at the tap end and fully opening the flow controller on your hose.
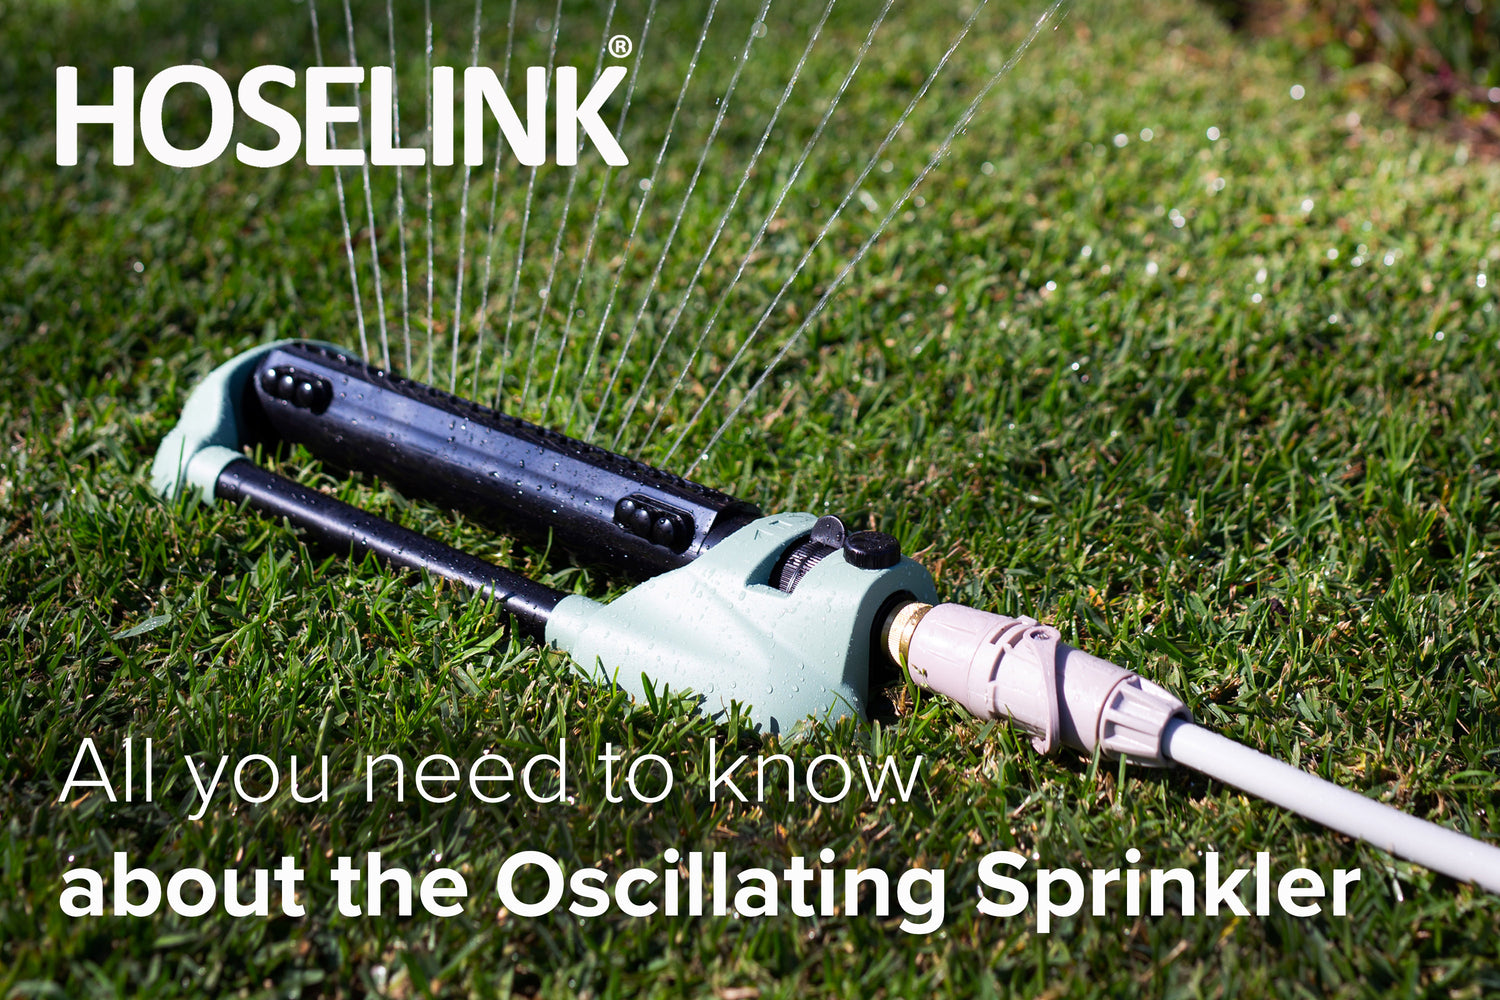
This sprinkler requires good water pressure to rotate effectively.
If the sprinkler head has stopped turning, check for blockages by removing the Hoselink accessory connector and sprinkler head, then rinse both with warm water. Running warm water through the system with the head removed will remove any debris caught inside.
Afterwards, spray the tool with silicone lubricant to prevent future blockages.
Replacement heads are available. Please contact customer service here.
This sprinkler does require good water pressure to rotate effectively.
This is likely due to poor water pressure. Try turning up the water pressure at the tap end and fully opening the flow controller on your hose.
If the sprinkler head has stopped turning, check for blockages by removing the Hoselink Accessory Connector, then rinse with warm water. Running warm water through the system with the head removed will help remove any debris caught inside. You can also remove the black stop cap to flush through the entire sprinkler.