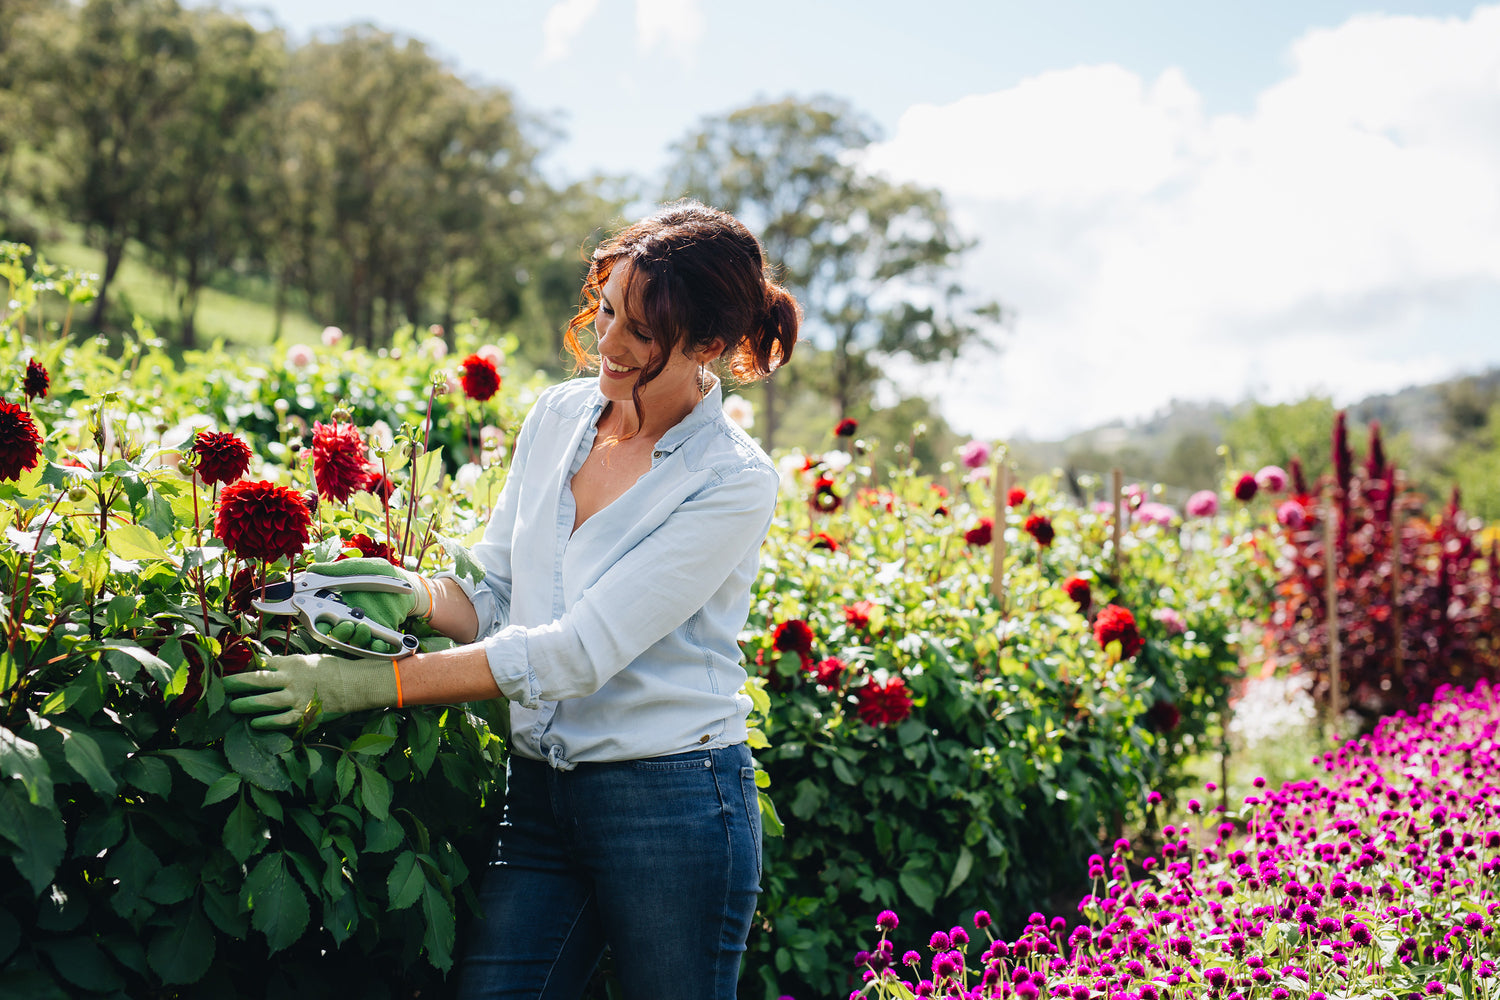
Brassicas are a staple of any winter garden. They are generally leafy vegetables such as cabbage, kale, Brussels sprouts, broccoli and cauliflower, but also include some root crops such as turnips, swedes and kohlrabi. This highly nutritious vegetable group should be planted in the garden over autumn to ensure a good supply throughout winter and early spring.
Raising seedlings
An excellent sustainable gardening practice is to collect your own seeds from the previous season’s crop by letting your plants go to flower, and then seed. This is a cost-effective way of gardening and extremely rewarding because you have full control over the entire growing process. If this is not possible, purchase seeds from your local garden centre or seed supplier.

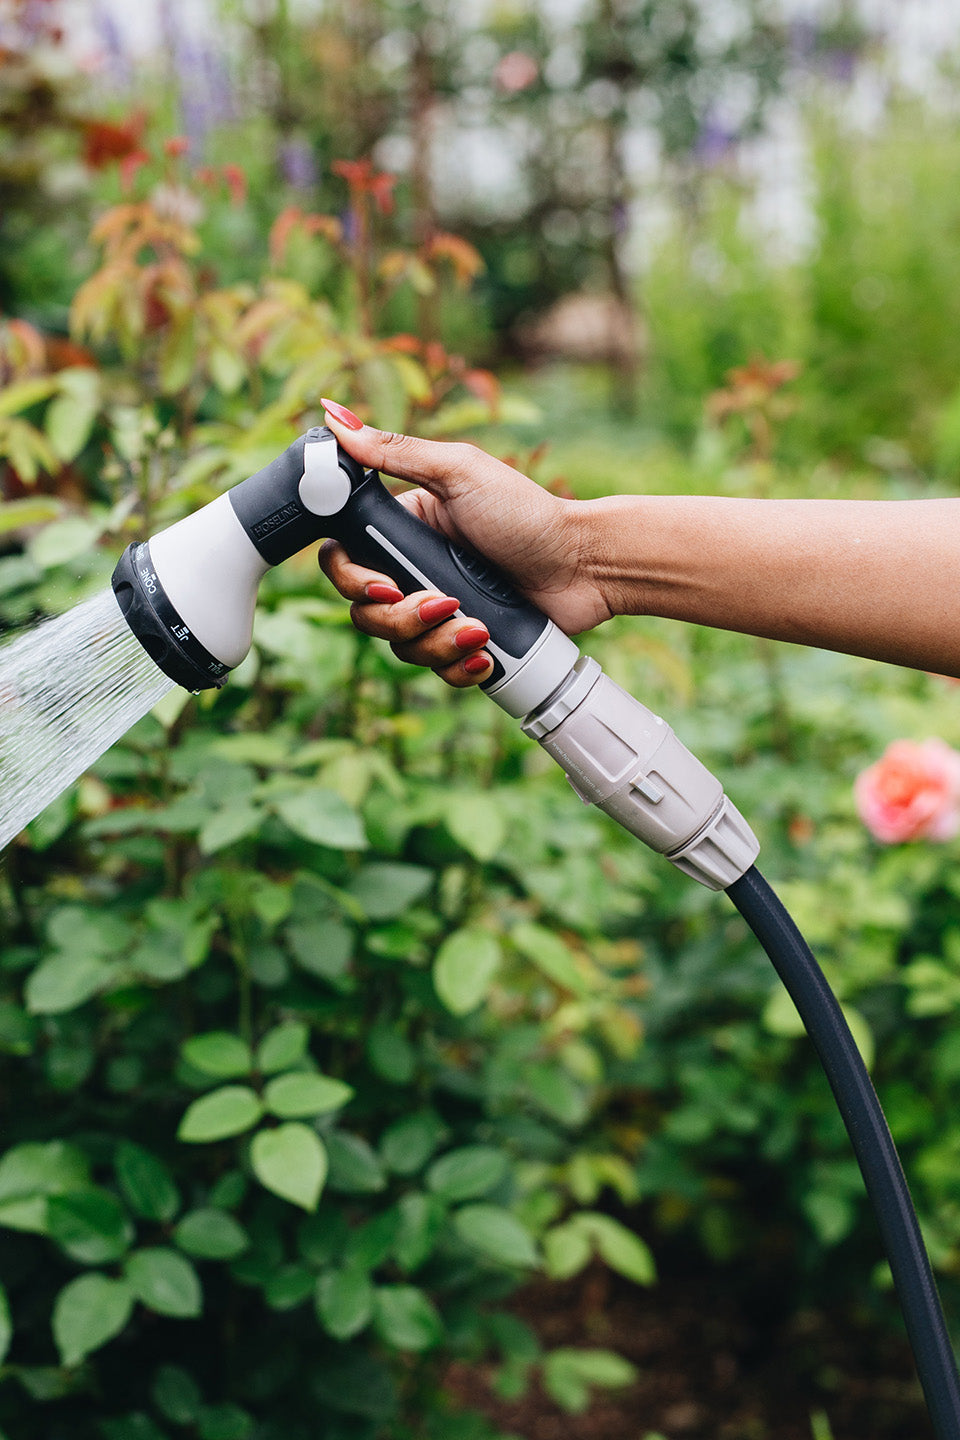
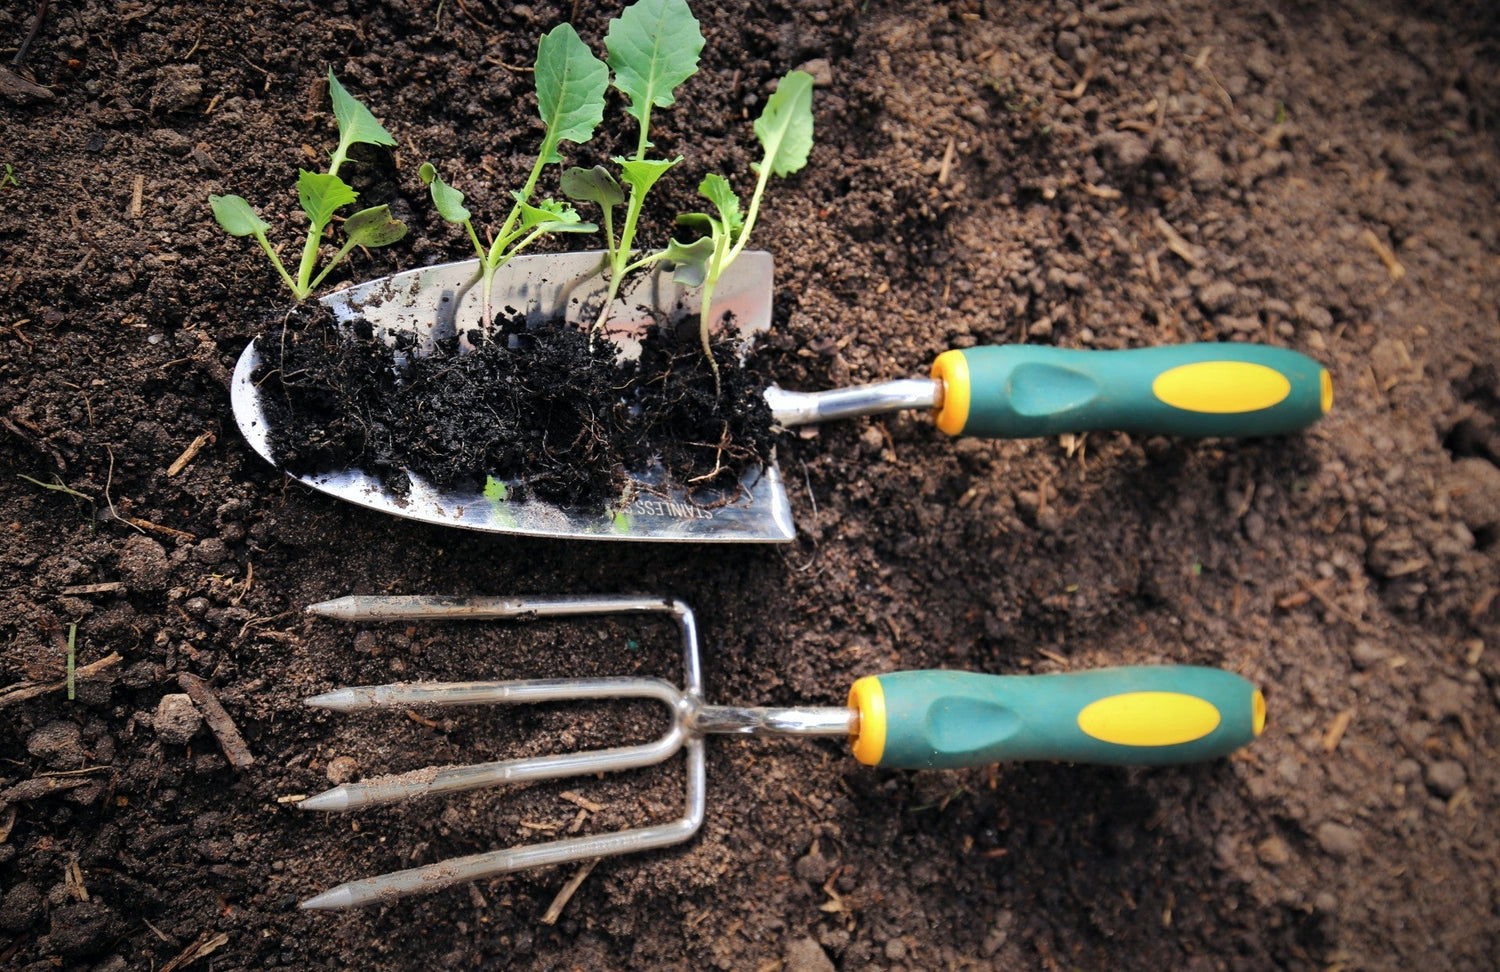
Sow seeds thinly in trays, pots or cells in quality seed-raising mix. Ensure the seeds are covered to a depth of 2cm and are placed in a well-lit, protected area. The seeds are best grown and raised in a greenhouse or inside near a window as this promotes ideal growing conditions for fast and effective germination. The seeds are also less likely to be impacted by poor weather or pests. Water as required, maintaining soil moisture – set your Hoselink sprayer to the mist setting to apply water gently, ensuring the delicate seedlings are not damaged, and the soil is not disturbed. In 4-6 weeks, once they have grown to 5cm high, the seedlings will be ready to be transplanted.
In the case of turnips and swedes, these are best grown from seed by directly sowing in the garden. I find they don’t transplant well as a seedling and often suffer transplant shock and die.

Soil health
While your seedlings are growing, use this time wisely to prepare and enrich your garden soil. Brassicas are a very hungry crop; therefore, the secret to success and a bountiful harvest is to feed your soil at least two weeks before establishing your winter garden.
Homemade compost is a vital ingredient to add to your soil to promote garden health. It improves the structure of your soil, helps to maintain moisture levels, and assists to suppress soil-borne diseases. Most importantly, it provides your plants with the essential nutrients they require over their entire growing cycle. Composting at home is inexpensive to establish and transforms your kitchen and garden waste into nutrient-rich organic matter for your garden. It also reduces your overall household waste that would otherwise be sent to landfill. If you are starting up your own compost system, it should consist of the following five layers:
- Carbon - Paper, cardboard
- Green waste - Lawn clippings, weeds, leaves, kitchen waste
- Animal fertilisers - Sheep, chook or cow poo
- Dry material - Straw or hay, dry leaves, twigs
- Water: It is essential you water every time you add a layer to keep your compost moist
Mix your compost heap every two weeks to provide aeration and to accelerate the process of rotting and breaking down. In no time, you will have beautiful loamy compost to add to your veggie garden. If you don’t have access to your own compost, you can also purchase it directly from your local garden centre or landscape supplier.
In addition to compost, I like to add more animal manure and some handfuls of blood and bone when preparing my soil to provide an essential nutrient boost. This is mixed through into the existing soil at a depth of a garden spade. I also add a tight fistful of sulphate of potash per square metre to promote healthy large heads on broccoli and cauliflower. As a substitute for manure, you could use organic manure in a palletised form, available from your local garden centre.
Planting out seedlings
Your seedlings will require a full-sun aspect that receives at least six hours of sunlight each day. Space broccoli, cauliflower, Brussels sprouts, cabbage and kale approximately 50cm apart and 60cm between each row, and turnips, swedes and kohlrabi should be spaced approximately 20cm apart and 30-40cm between each row.
Brassica seedlings are very fragile, so I like to plant the seedlings a little deeper, almost up to their lower leaves, to help stabilise them. Once planted, water them in with Hoselink’s Seaweed Tonic to help them overcome transplant shock, promote healthy root development, and increase immunity against disease and frost damage.

Pest control
Brassicas are very susceptible to damage by the infamous cabbage white butterfly. They are one of the most common butterflies in your garden that lay eggs on the underside of the leaves that ultimately hatch into caterpillars and eat your crop. The eggs look like tiny white dots about the size of a pinhead.
Aphids and mites can also be an issue; they cause damage by sucking the sap out of new growth and established leaves. Organic pest control methods are the safest solution to overcome or prevent these issues. Remove caterpillars and squash their eggs with your fingers and use organic horticultural oil on unwanted insects to smother them. The ultimate control for caterpillars and protection from birds is to erect a fine netting over the entire crop. This also helps to deter other pests at night, such as possums and protects them from hail damage. To deter snails and slugs, try spreading crushed eggshells or used coffee beans around the perimeter of your seedlings.
Ongoing care
Commence a liquid feeding regime every three weeks, alternating between Hoselink’s Plant Health Seaweed Tonic and Super Grow Garden Fertiliser, and maintain this right up until harvest time. In addition, mulching with hay or pea straw will assist in suppressing weeds and helping to maintain soil moisture.

Harvesting
- Broccoli - Harvest the main head once they have reached full size and the individual florets are still closed and tight. If left for too long, they will open and eventually go to flower. Once the main head is harvested, don’t pull the plant out, some varieties throw out small broccoli side shoots that allow you to cut and come again.
- Cauliflower - Harvest when the head or curd is well-formed, tight and firm. If left for too long, the curd tends to open and split.
- Brussels sprouts - They are ready for harvest once they are 1 or 2 inches in diameter. Harvest from the bottom up, removing yellowing leaves as you go.
- Cabbage - Harvest the heads when they have reached the desired size and are nice and firm. Simply cut them with a sharp knife just above ground level at their base.
- Kale - Baby kale leaves can be ready in as little as four weeks after planting; larger leaves will take longer. Pick them individually, starting with the lowest and outermost leaves and working towards the centre of the plant. Picking mature leaves will encourage lots of new growth to occur.
- Kohlrabi - Harvest when they are 2.5-4 inches in diameter by cutting them with a sharp knife at the base.
- Turnips and swedes - These are fast-growing crops like radishes. Harvest after 6-10 weeks by lifting out the root once it’s about 2-3 inches wide.
For more garden growing tips follow Peter on Instagram @insta.greener